First time installation
When the set starts up for the first time, it will do so in the first-time installation mode. This enables you to set up various Android functions, log into your Google account (you will be able to set up a Google account if you do not have one) and for the set to be tuned into digital television if required.
Note: The basic installation steps may vary slightly depending on your model and/or country of use. Due to Android software updates, the look and feel of the television start up procedure and subsequent menus may be subject to change.
To navigate through the options when in the first-time installation mode, use the buttons on your remote control as shown here:
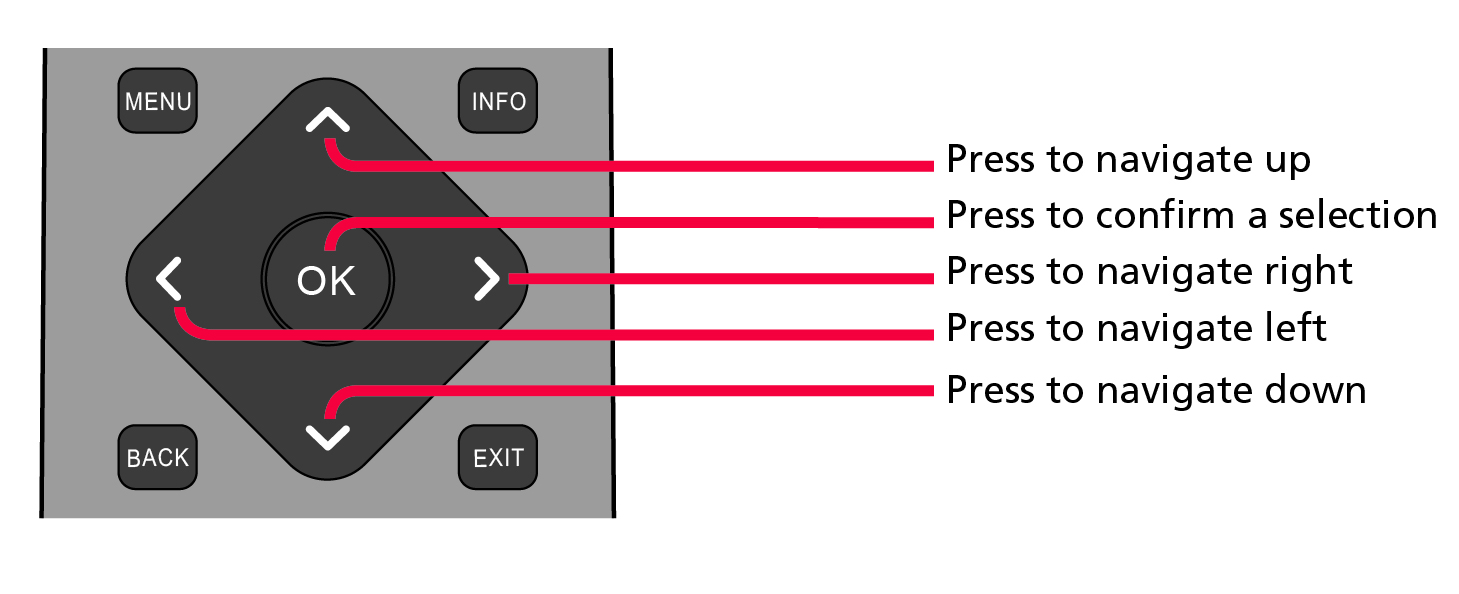
Using the Remote Control
During the set-up process you will be prompted to sign into your Google account via the pre-installed Google app. This set up process will depend upon the model of television being configured. Please ensure that you have your account details to hand. If not, you will be prompted to set up an account. If you do not wish to set up an account, this can be done later.
Full First Time Installation
When the set is turned on for the first time it will enter the installation mode as shown here. It is recommended that all steps are completed as shown in the process to ensure correct operation. Use the back button on your remote control to return to the previous screen.

- When the set first turns on, you will be requested to select your preferred on-screen display language. This will set the language in which the menus and associated information is displayed in. Should you wish to do so, this can be changed later in the Device Preferences menu.
- Next you will be requested to set up your set with an Android phone. If you do not have an Android phone, proceed to the next step. If chosen, the set will request you to log into your Android phone and connect the set to your network automatically.
- If your set is not connected via an Ethernet cable, it will request that a Wi-Fi network is selected and logged into. Choose your network and then follow the on-screen display to enter your password. When correctly entered, the set will log into your network and connect to the internet if this is available
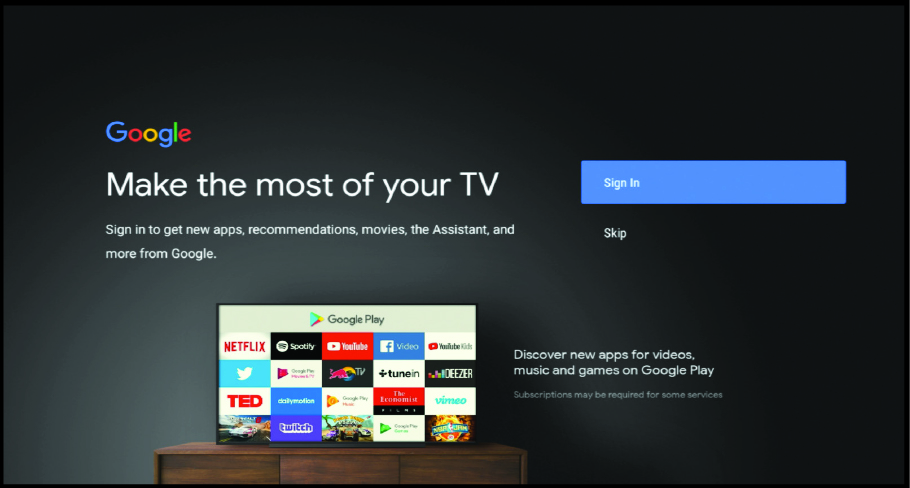
- Now you can sign in using your Google account. If you do not have a Google account, this can be set up at this stage if required. Should you not want to sign in or create a Google account, then this stage can be skipped.
- If signing in, there are two options. You can either sign in using a device by choosing “Use your phone or computer”, this will bring up further options to follow. If using the remote control to sign in, you will be asked for your Google account name and password; follow the prompts to sign in.
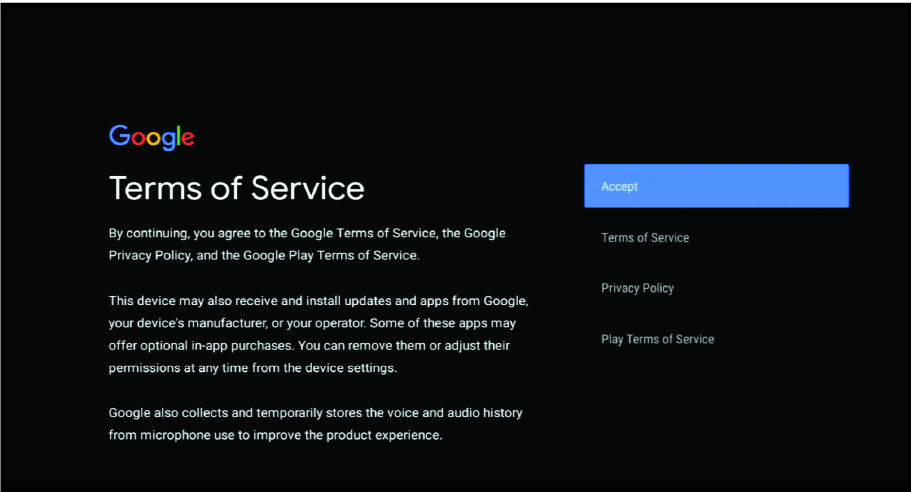
- Once logged into your Google account you will be asked to confirm that the Terms of Service are accepted. Then asked to accept the following:
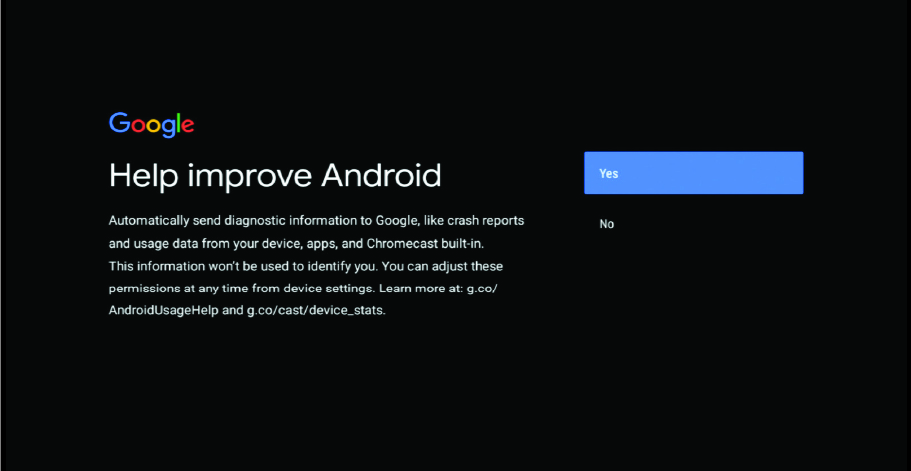
- Help Improve Android – When enabled, the set will automatically send diagnostic information to Google.
Location: Let Google use your device location to improve your Android device. Some apps may require this to be turned on to perform correctly. This setting can be turned on or off at any time in the Settings menu.
Get Personal Results: Turn this on so that you can use your voice to get your email, calendar, help with payments and more on this device. This can be turned on or off in Assistants settings.
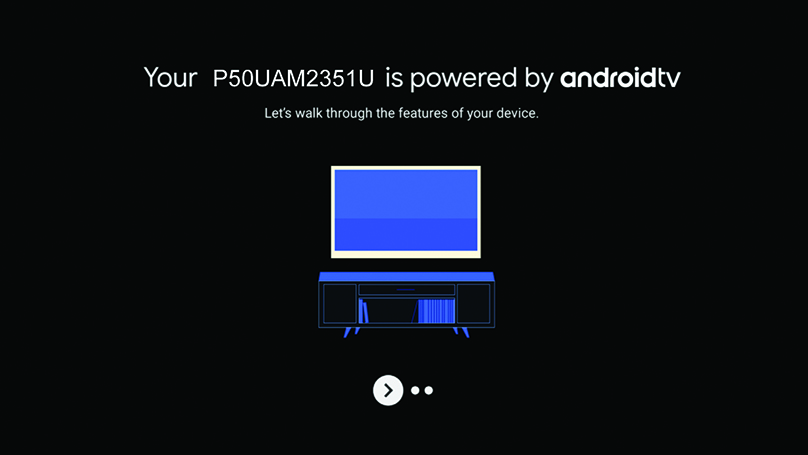
- After setting up your Google functionality, some of the benefits and advantages of the set are displayed.
- Enter the country of use for the set. This will determine the functionality of the television, for example Freeview Play in the UK or Saorview in ROI.
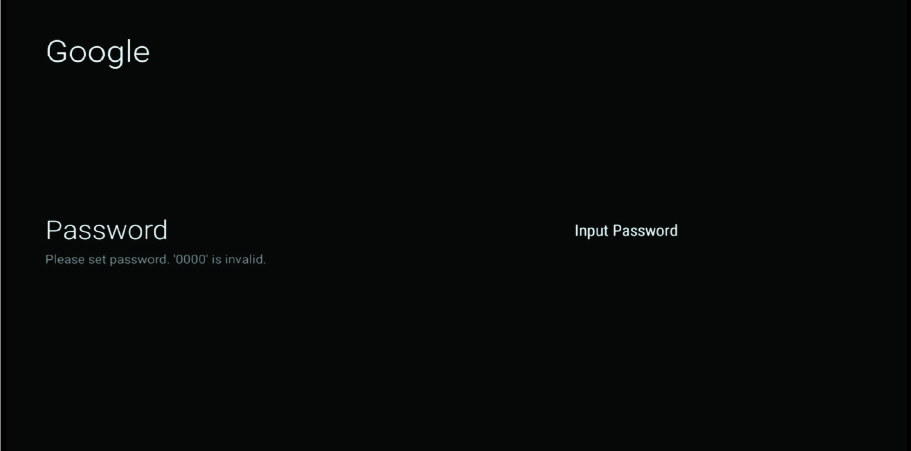
- When this prompt appears, press the [OK] button on the remote control to enter a four digit PIN code. You will be asked to confirm the PIN before progressing to the next step. This PIN is used when accessing various functions on the set and during the lock or parental control usage.
Note: When setting the password, you can only set four numbers. The letters on the displayed keyboard are not active.
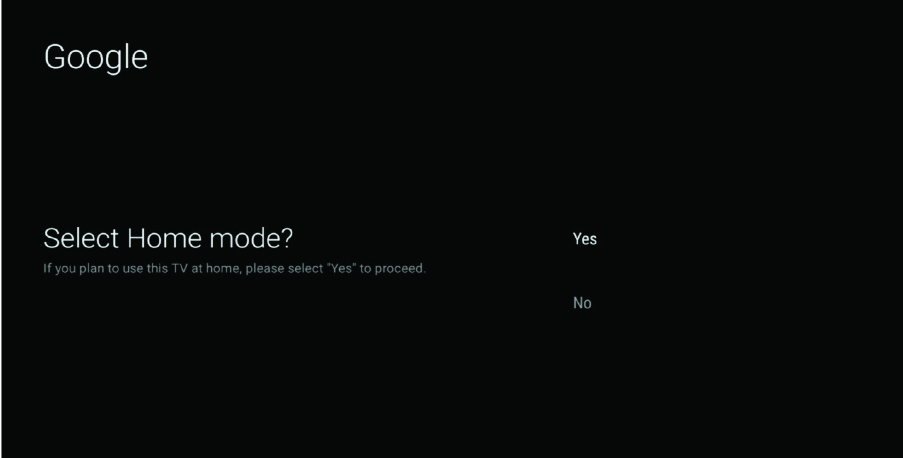
- Set up your television to be in Home or Store mode. Home mode is the default setting for normal use. This can be changed later in the Settings menu if necessary.
Note: If the store mode is turned on, the set will go into the demonstration mode after a few minutes and display banners advising of the sets specification on the screen.
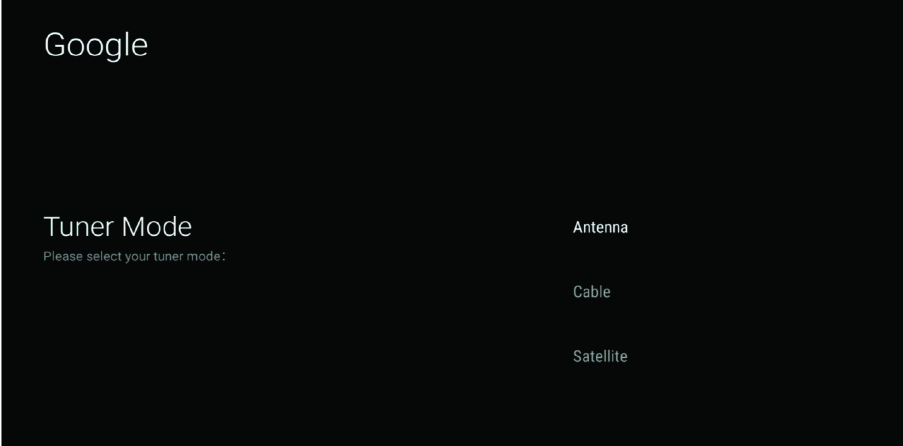
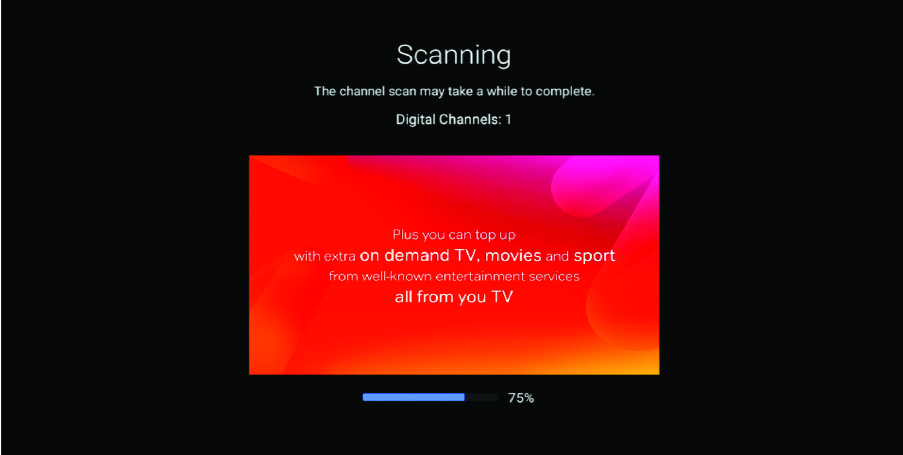
- To enable your set to receive television channels, it needs to be tuned into your local transmitter. There are three tuning modes available, for Freeview Play functionality choose Antenna and then the Scan option. While your set is tuning in, the display will advise progress and the number of digital channels received.
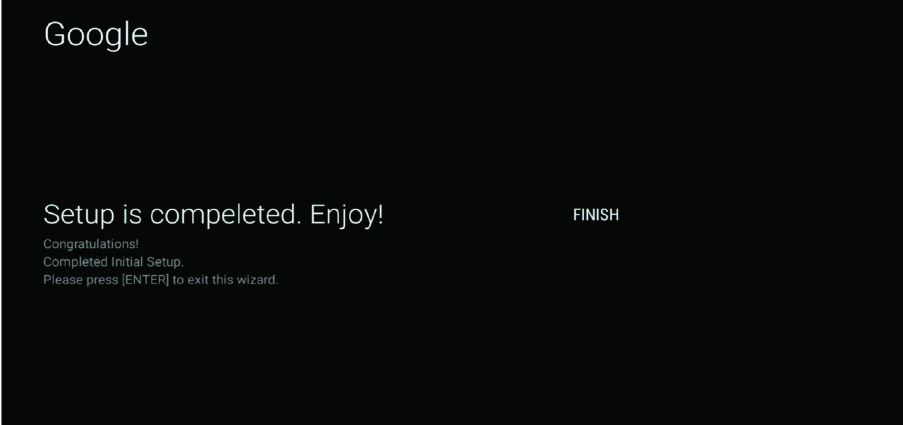
- Tuning of the set is now complete.
Note: After the TV is tuned in, you may be prompted to confirm which region your set is in. This can occur if more than one transmission signal is detected. If you receive this prompt, please press the [RIGHT ARROW] on the remote control and confirm the transmission signal you would like the TV to use.
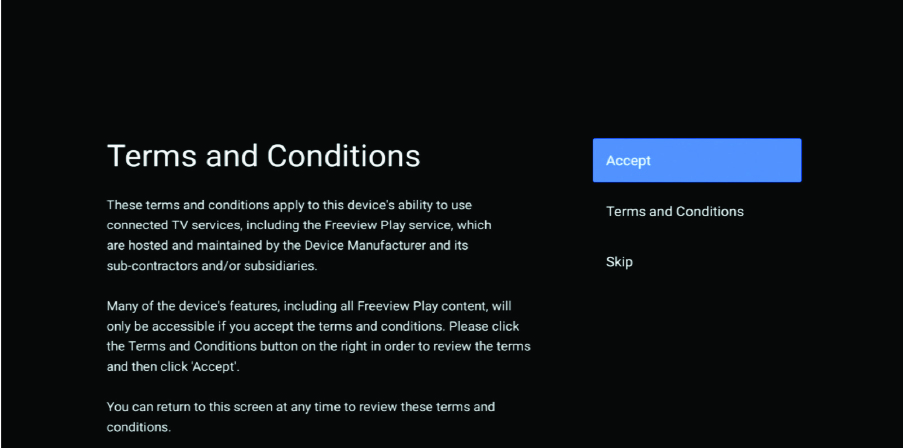
- Agree to the Freeview Play Terms and Conditions if the set is located in the UK and tuned in.
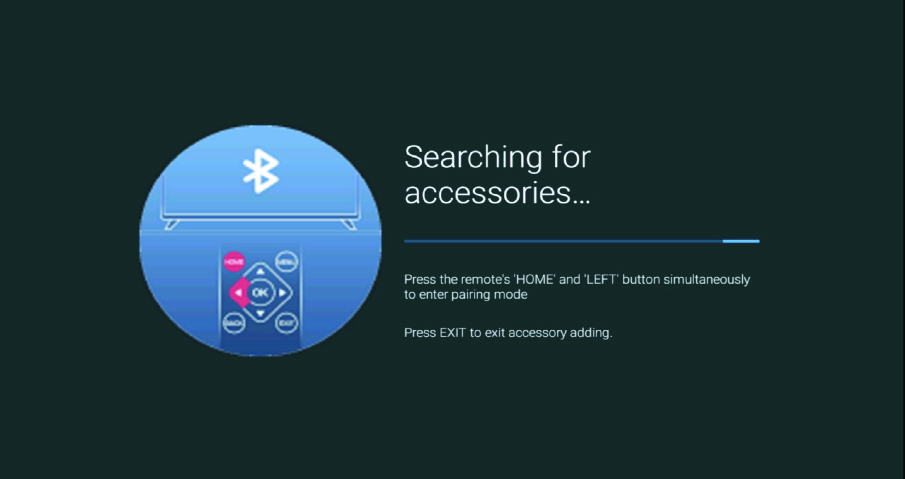
- Connect your remote control using Bluetooth:
- Press and hold the [LEFT ARROW] and [HOME] buttons on the remote control at the same time.
- The LED indicator on the remote control will start to flash.
- Select your remote control from the list shown on the television screen and press [OK] on the remote control.
- Once paired, the pairing screen will disappear.

Note: If your set is not supplied with a Bluetooth remote, then it will not pair with the set. If this is the case, this step has to be skipped.
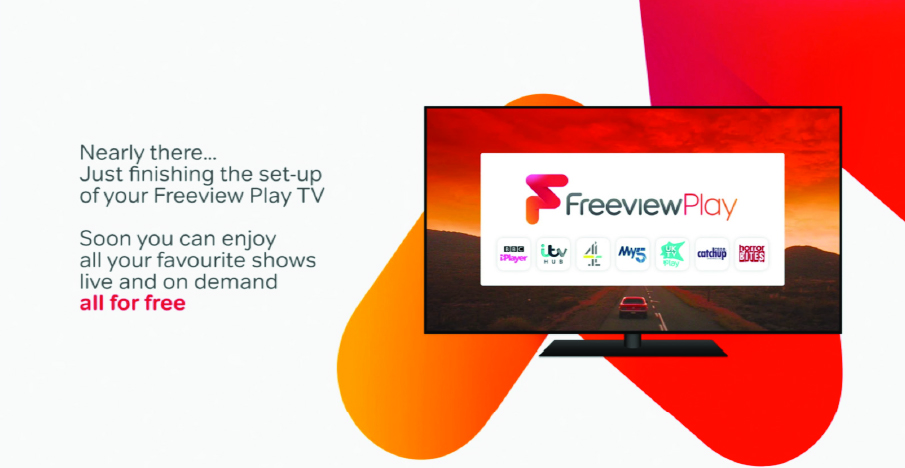
- You will be greeted by a Freeview Play confirmation screen, when this closes, you are ready to use your Android set. Your set will start at the Android Home Page.


