First time installation
When the TV is turned on for the first time it will enter the installation mode. It is recommended that all steps are completed to ensure correct operation. Use the XXX.GLF (back) button on your remote control to return to the previous screen.
When the TV first turns on, instructions on how to pair the remote control are displayed on the screen. Pair your voice remote following the on-screen instructions. You will need to press and hold the two remote control buttons shown on the screen.
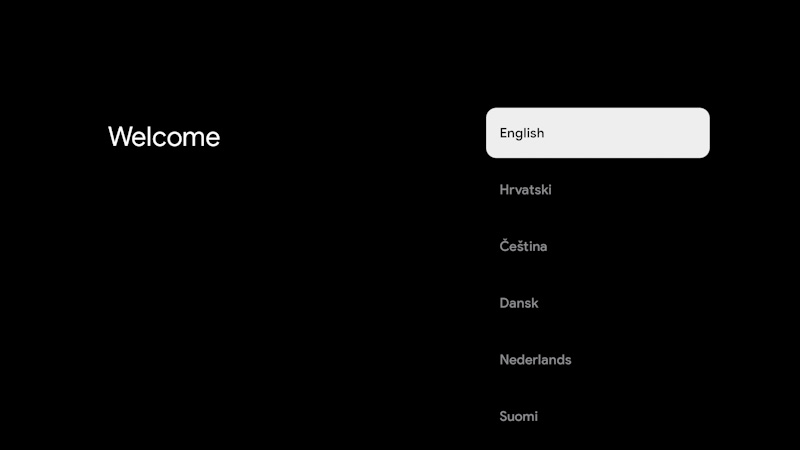
1.Select your preferred on-screen display language. This will set the language in which the menus and associated information are displayed. If you wish to change it later, you can do so in the [System] menu.
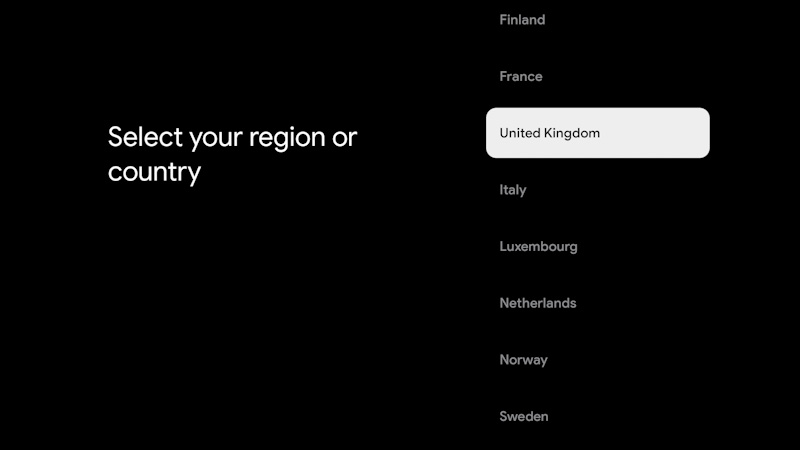
2.Enter the country of use for the TV. This will determine the functionality of the television, such as specific operator settings for tuning of TV channels.
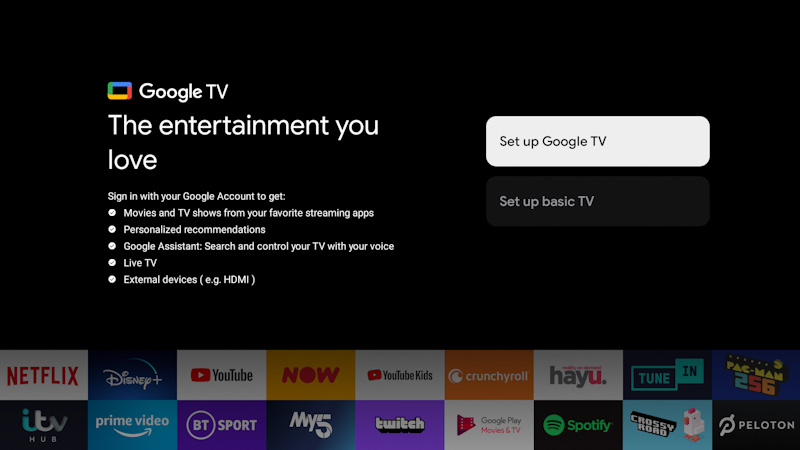
3.Select option [Set up Google TV] to use TV with all its smart features. If you choose [Set up basic TV], setup will finish faster and TV can be used without Google account, however internet connection and thus smart features will be unavailable. TV also won’t get important security updates.
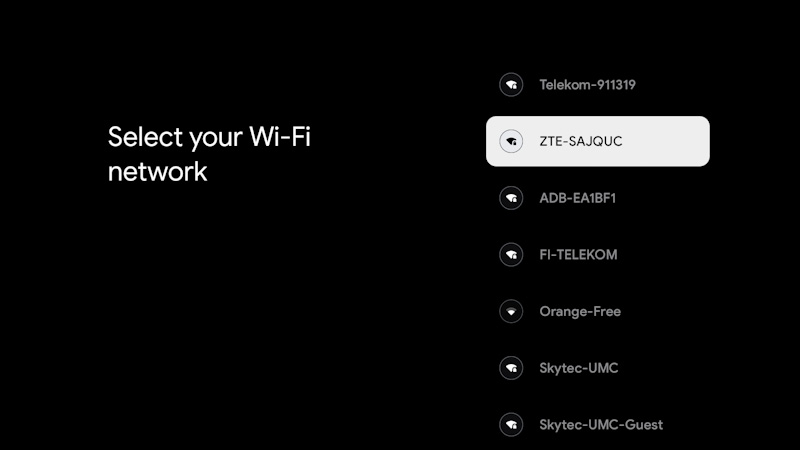
4.If your TV is not connected via an Ethernet cable, it will request that a Wi-Fi network is selected and logged into. Choose your network and then follow the on-screen display to enter your password. When correctly entered, the TV will connect to your network and connect to the internet if this is available.

5.On this screen, you can review the detailed terms and conditions for using connected services. By selecting [Accept], you agree to these terms and can proceed with the setup. Choosing [Skip] will result in certain services not being available to you.
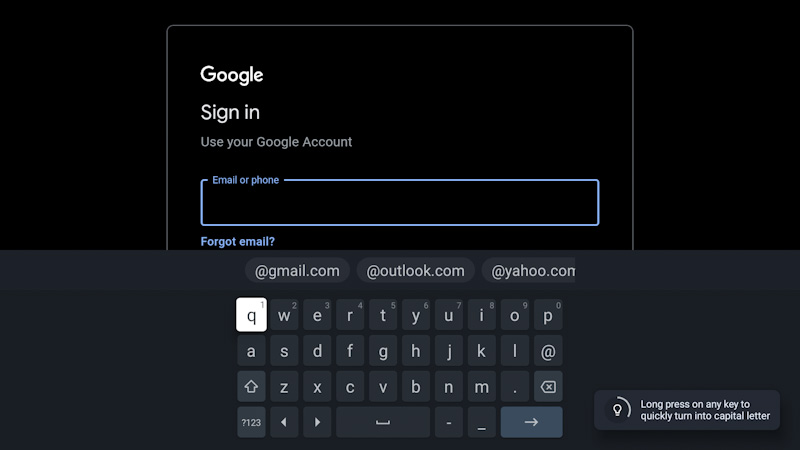
6.Now you can sign in using your Google account. If you don't have a Google account yet, you can set one up at this point. During this stage, you will provide information for one Google account. Additional accounts for your family members can be added later through the [Profile] menu.
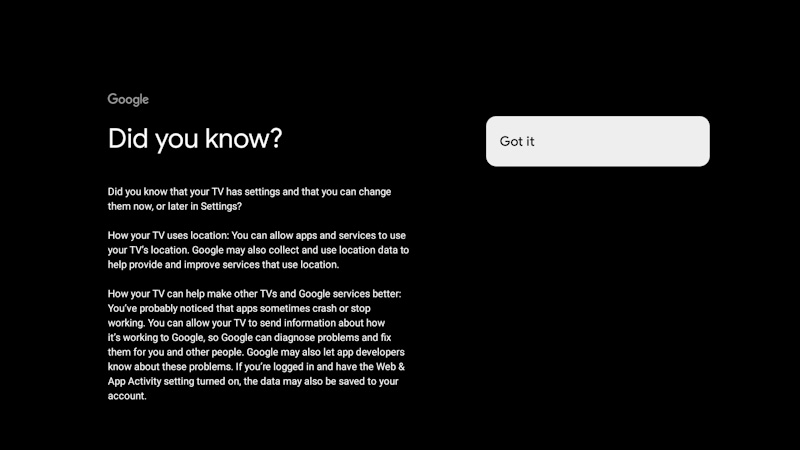
7.Please carefully review the information provided on this screen regarding sharing your TV's location with apps and details about diagnostics. Your understanding of this information will help you make informed decisions when selecting options on the next screen.
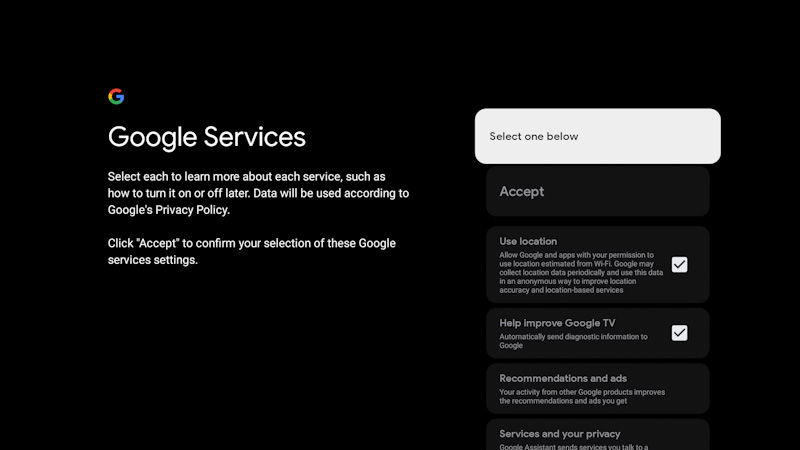
8.Choose your preferred settings on this screen and proceed to the next step by selecting the [Accept].
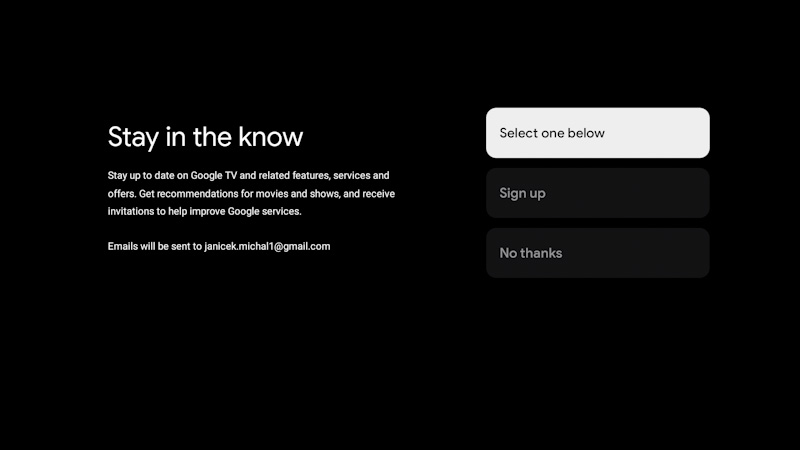
9.Here, you have the opportunity to subscribe to the Google TV newsletter.
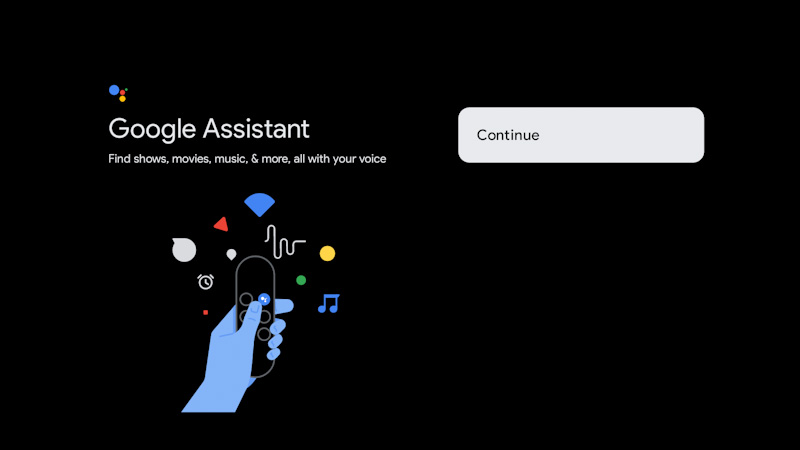
10.Select [Continue] to continue to the next screen.
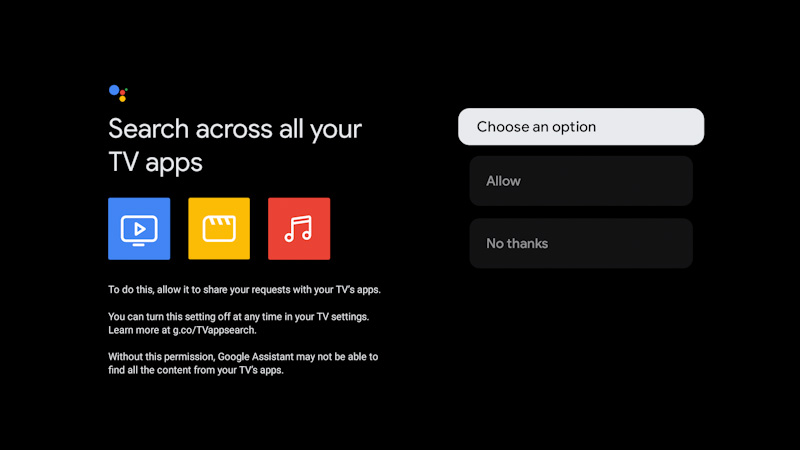
11.This screen is associated with Google Assistant. Choose [Allow] to enable content searching within apps using voice commands. For instance, you can request to play a specific show from a streaming app. If you prefer not to use voice search, select [No thanks].
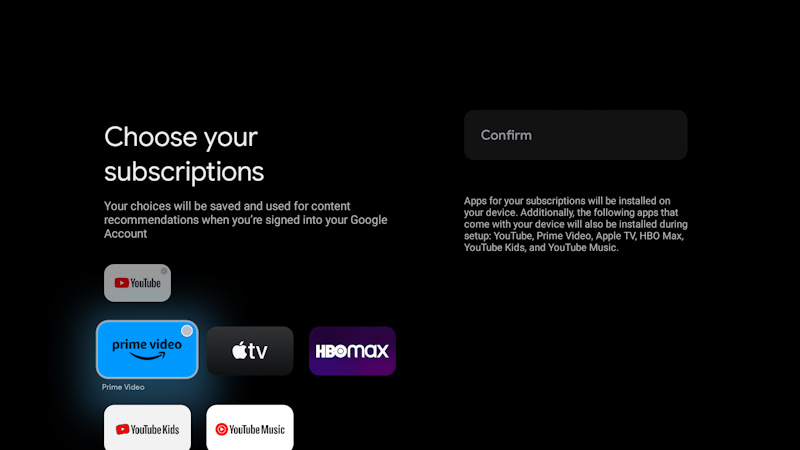
12.Choose the apps that will be automatically downloaded and installed once the setup is completed. Remember, this is just a part of the initial setup; you can always search for and install additional apps from the Home screen later on.

13.Information about increased power consumption when TV is using Wi-Fi connection.
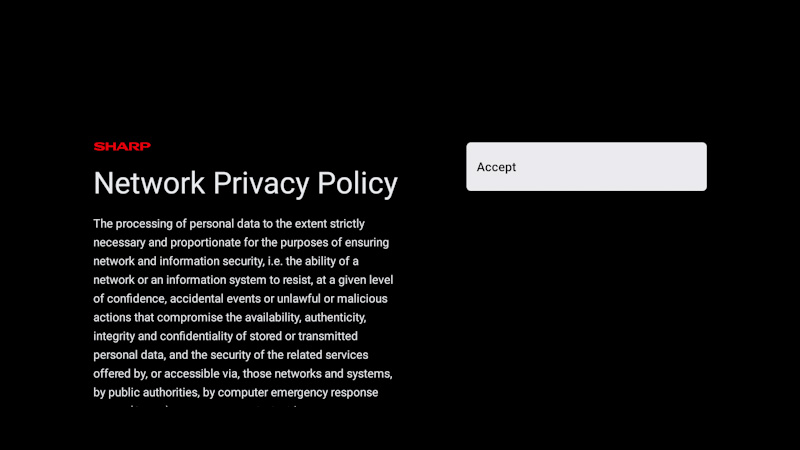
14.Information about Network privacy policy.

15.On this screen, you can review the manufacturer's privacy policy and terms of use. To proceed, select the option [Agree to Terms of Use and Continue].
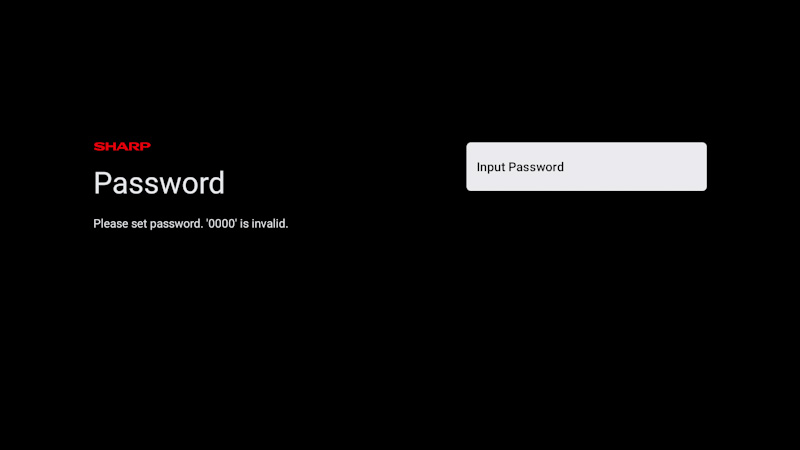
16.When this screen appears, press the OK button on the remote control to input a four-digit PIN code. You will be asked to confirm the PIN before progressing to the next step. This PIN is used when accessing various functions on the TV and during the lock or parental control usage.
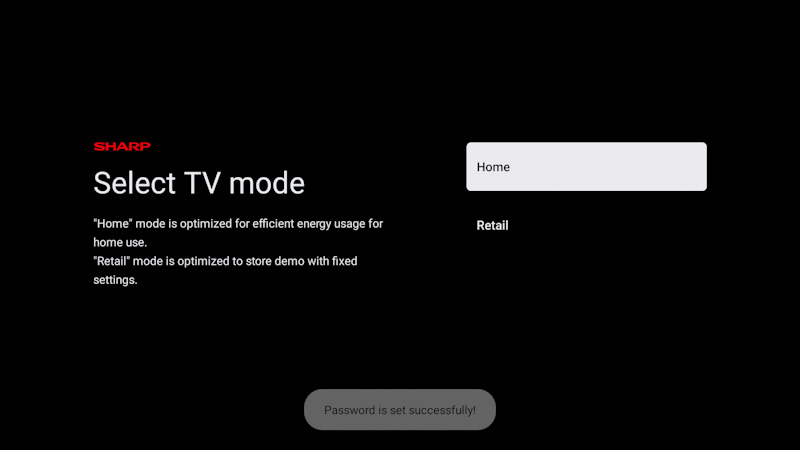
17.Set up your television to be in Home or Store mode. Home mode is the default setting for normal use. This can be changed later in the Settings menu if necessary.

18.This screen relates to the function of waking up the TV using Chromecast built-in. For example, you can activate the TV from standby mode by casting the screen from a mobile device. However, it's important to note that this will lead to higher power consumption while the TV is in standby mode. Select [On] if you want to enable the ability to wake up the TV with a mobile device, or choose [Off] to minimize power consumption in standby mode.
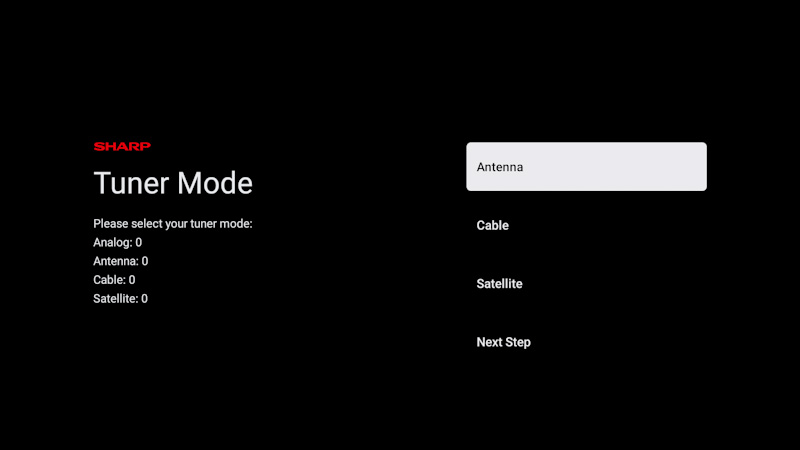
19.If you have an antenna cable connected to one of the TV's tuners, choose one of the applicable options and initiate the tuning process. While your TV is tuning, the display will provide updates on the progress and indicate the number of digital channels being received. If the tuning process is completed or if you do not have an antenna connected, select the [Next Step] option.

20.On this screen, select [Next] to finish the setup, or you may choose [Setup network] if you haven't already configured the network in the previous steps.

21.This screen promotes the optional 'Sharp Aquos Wireless Surround' speaker system, which is compatible with this TV and significantly enhances the listening experience. The system can be purchased separately. Scan the QR code with your smartphone to access more information.

When you see this screen, you are ready to use your Google TV. Press OK and your TV will start at the Home screen.